It’s been awhile since we used any formal art curriculum in our homeschool. So I was excited for the opportunity to review Art Projects by See The Light.
With nine separate titles to choose from, it was difficult selecting one to start with. Each title is based on the work of different artists…check this out:
Tiffany Windows: In the Style of Louis Comfort Tiffany, Repeated Sweets: In the Style of Wayne Thiebaud, Paper Jungle: In the Style of Henri Rousseau, Pointillism Fruit: In the Style of Georges Seurat, Poppy Collage: In the Style of Georgia O’Keefe, Dreams of Joseph: In the Style of Marc Chagall, Horsing Around: In the Style of Edward Degas, Peaceful Seas: In the Style of Winslow Homer and Sunflowers: In the Style of Vincent Van Gogh
Each title supplies you with about 4 hours of art instruction and project time. Using this product couldn’t be easier. All you have to do, is collect your supplies, set up and pop in the DVD. The instructor, Pat Knepley, leads your students along step by step. Need time to keep up? Just press pause and resume whenever you’re ready. Toward the end of each lesson, the instructor reads a small excerpt from the Bible while you’re finishing up. Easy, Peasy!
Wondering about using See the Light’s Art Projects for high school credit? While the boxed set of 9 Art Projects alone is not quite enough for a half-credit high school Visual Arts course, you could easily add the Cartooning and Bible Stories DVDs to fill it out. Additionally, if you add an extra project to each lesson, do a research paper or project on a couple of the artists and take a field trip or two to local Art Museums, your high school student could complete a full credit course.

Because we have enjoyed so much time experiencing the beautiful, peaceful waters around the coast of Florida, Peaceful Seas, was the project that caught my eye. Watch as we create a seascape in the style of the great American artist Winslow Homer…
DAY 1 – Set the Scene and Basic Wash
First, we learned to sketch lightly so the lines won’t show through the watercolor paint when we’re done…

Next we learned to puddle and do a wash for our background…
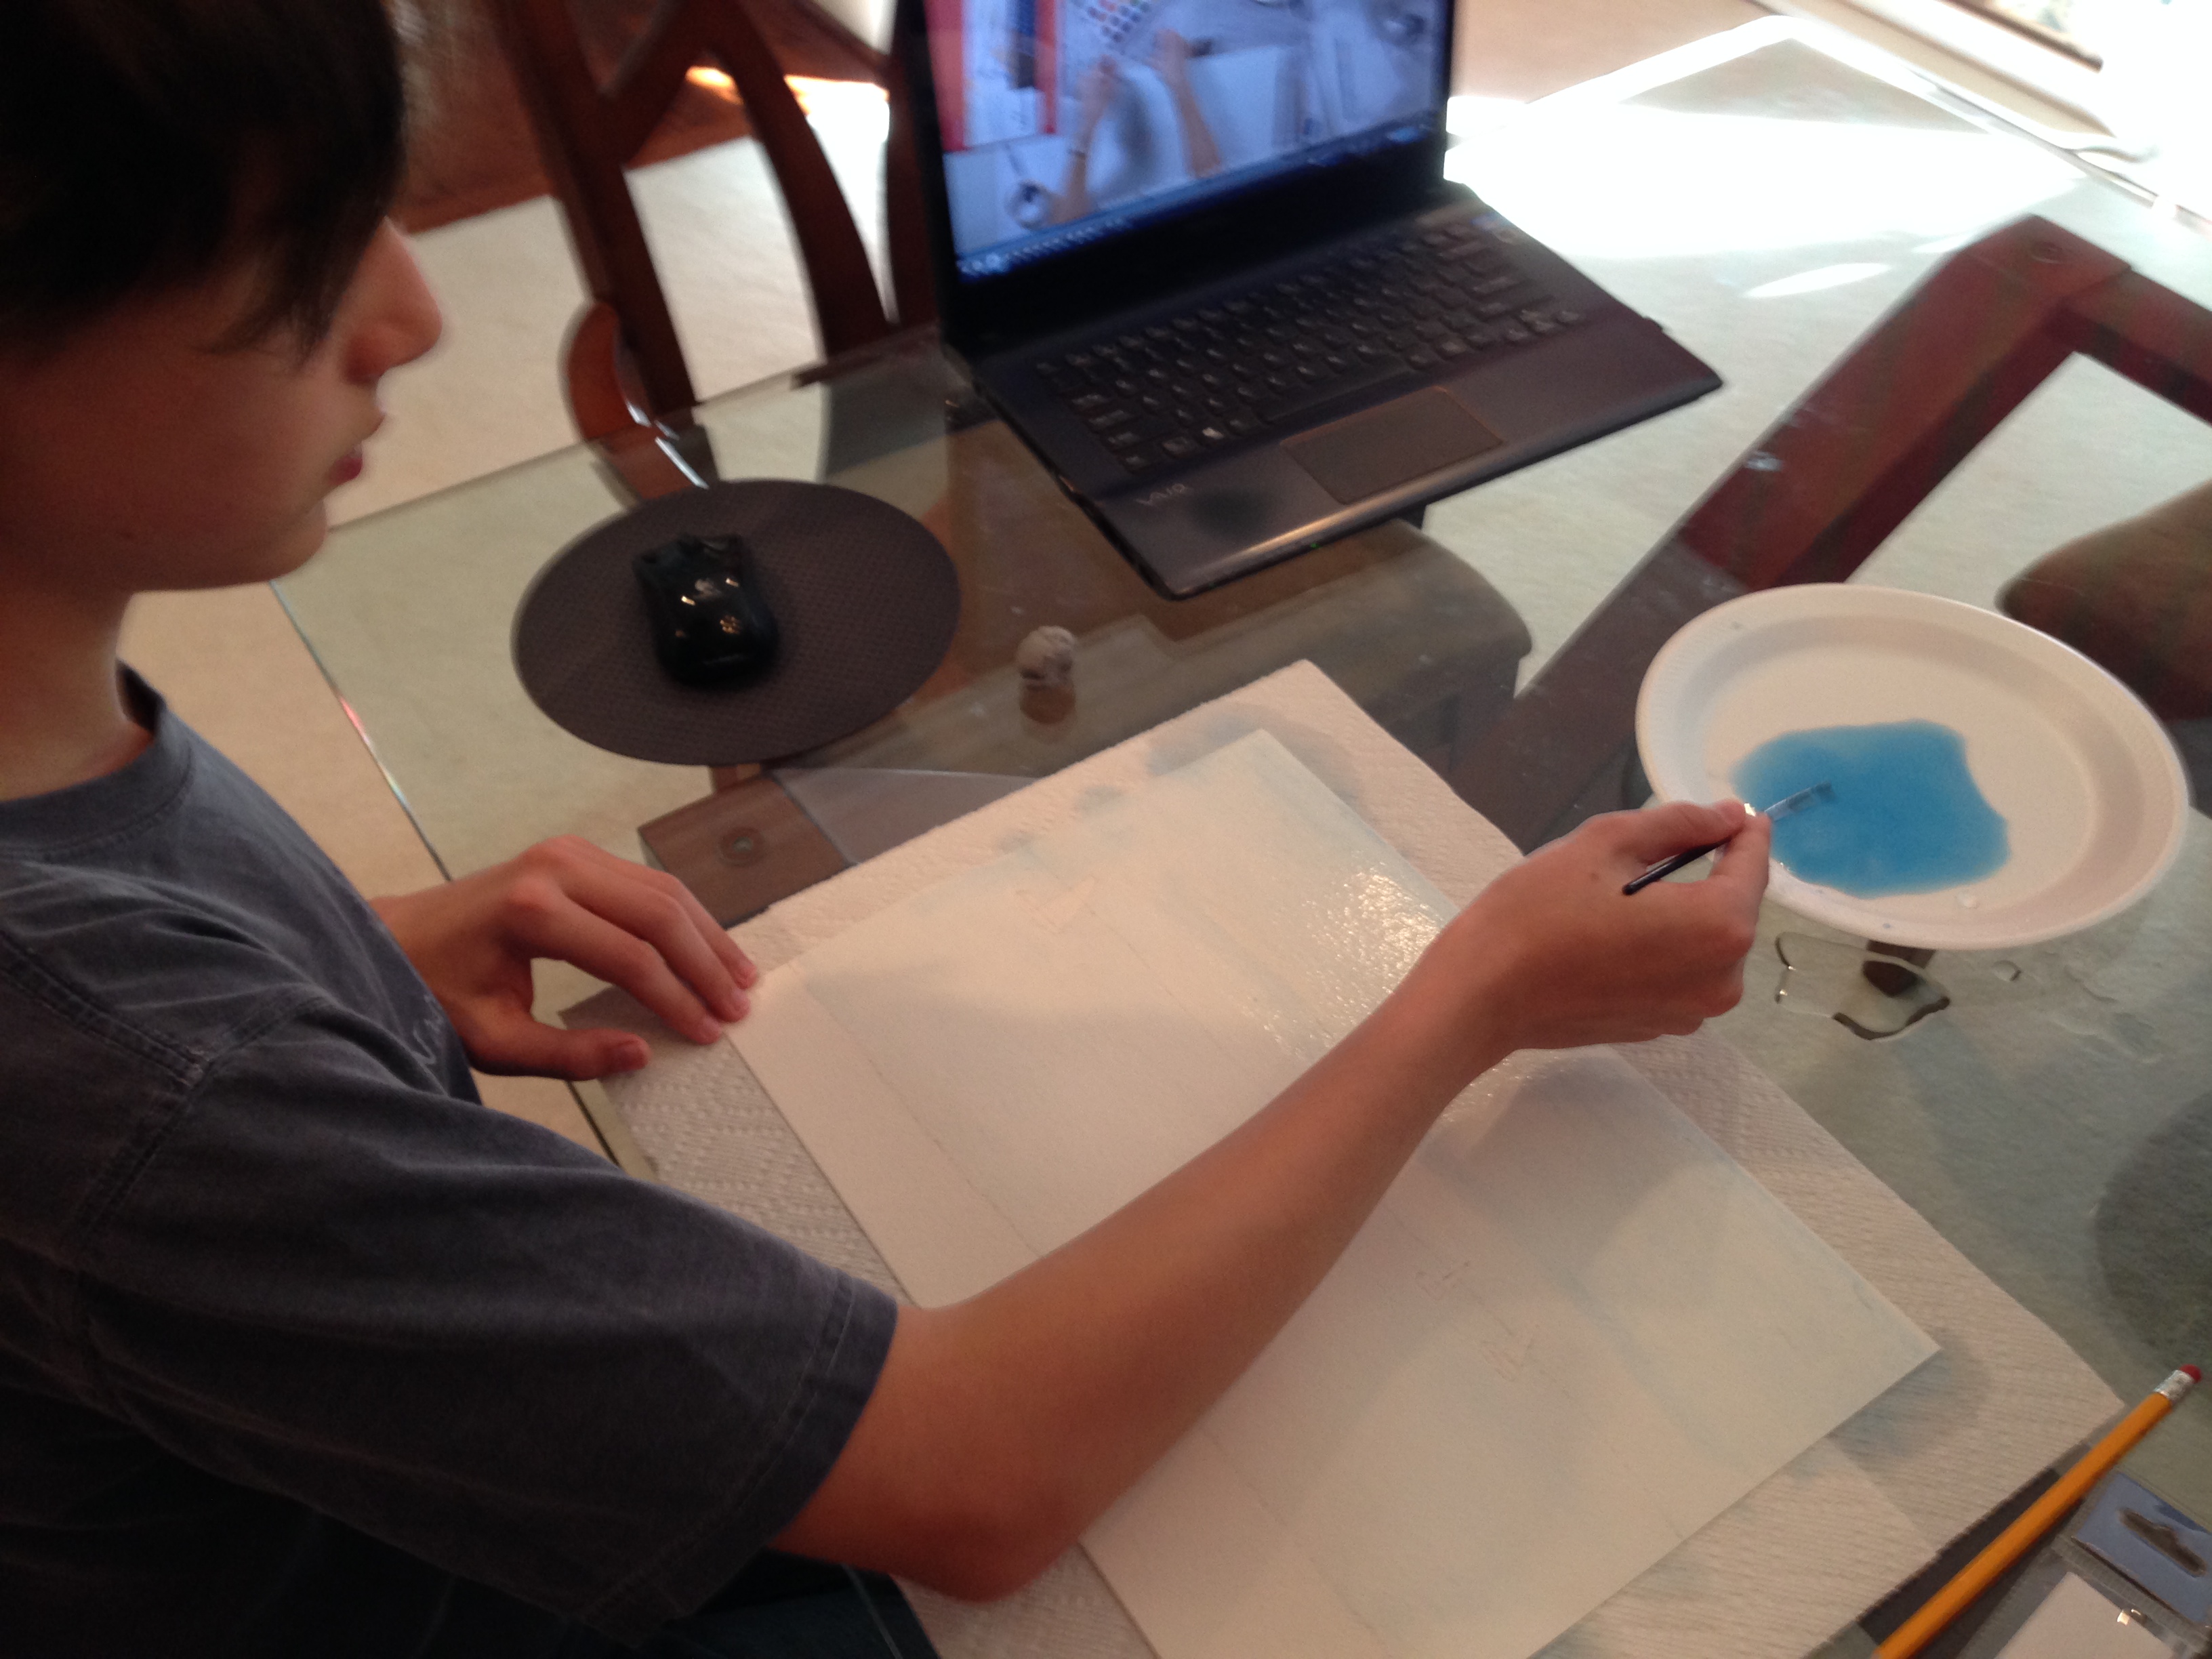
Then we made a gradient of dark to light for the background and used paper towels to add some clouds. (A little difficult to see in this picture.)

This is our trusted Art Consultant. She really enjoys our work…thankfully, the paint had dried:

DAY 2 – Beach Foreground with Salt and Plastic Bag Technique
We worked on the beach in the foreground and learned two new processes. After doing our wash of the sandy beach, we sprinkled a little salt to change the texture. I thought the results were amazing!

Next we used a scary dark brown and a little black to create a large rock in the foreground and we smashed a plastic grocery bag on it and let it dry….check this out:
Cool thing was….each rock turned out totally differently!
DAY 3 – Creating the Water in Watercolor
We learned about the properties of water that we would attempt to duplicate with paint! (You know, like reflections and motion.) This scared us a little….looking at our pretty blue water and wondering if we’d be able to pull it off! In the examples by Winslow Homer, he used brown for the reflections of the boat on the water. I was afraid if I added anything other than blue, I may end up with toxic sludge, perhaps an oil spill, or maybe something that resembled Red Tide. But so far so good!
We just added our original blue from the wash, a purple and a darker blue! Then we learned how to add “trees” on the distant shore. One more lesson to go…can’t wait to see how they all turn out.
DAY 4 – Final Details of the Boat and Shore
On the final day of our project we added the details. We used white chalk pastel to add a little depth to the clouds and texture to the water, then added in the color on our sailboats. Lastly, we used the white chalk pastel under the boats to show a reflection of the sail on the water.

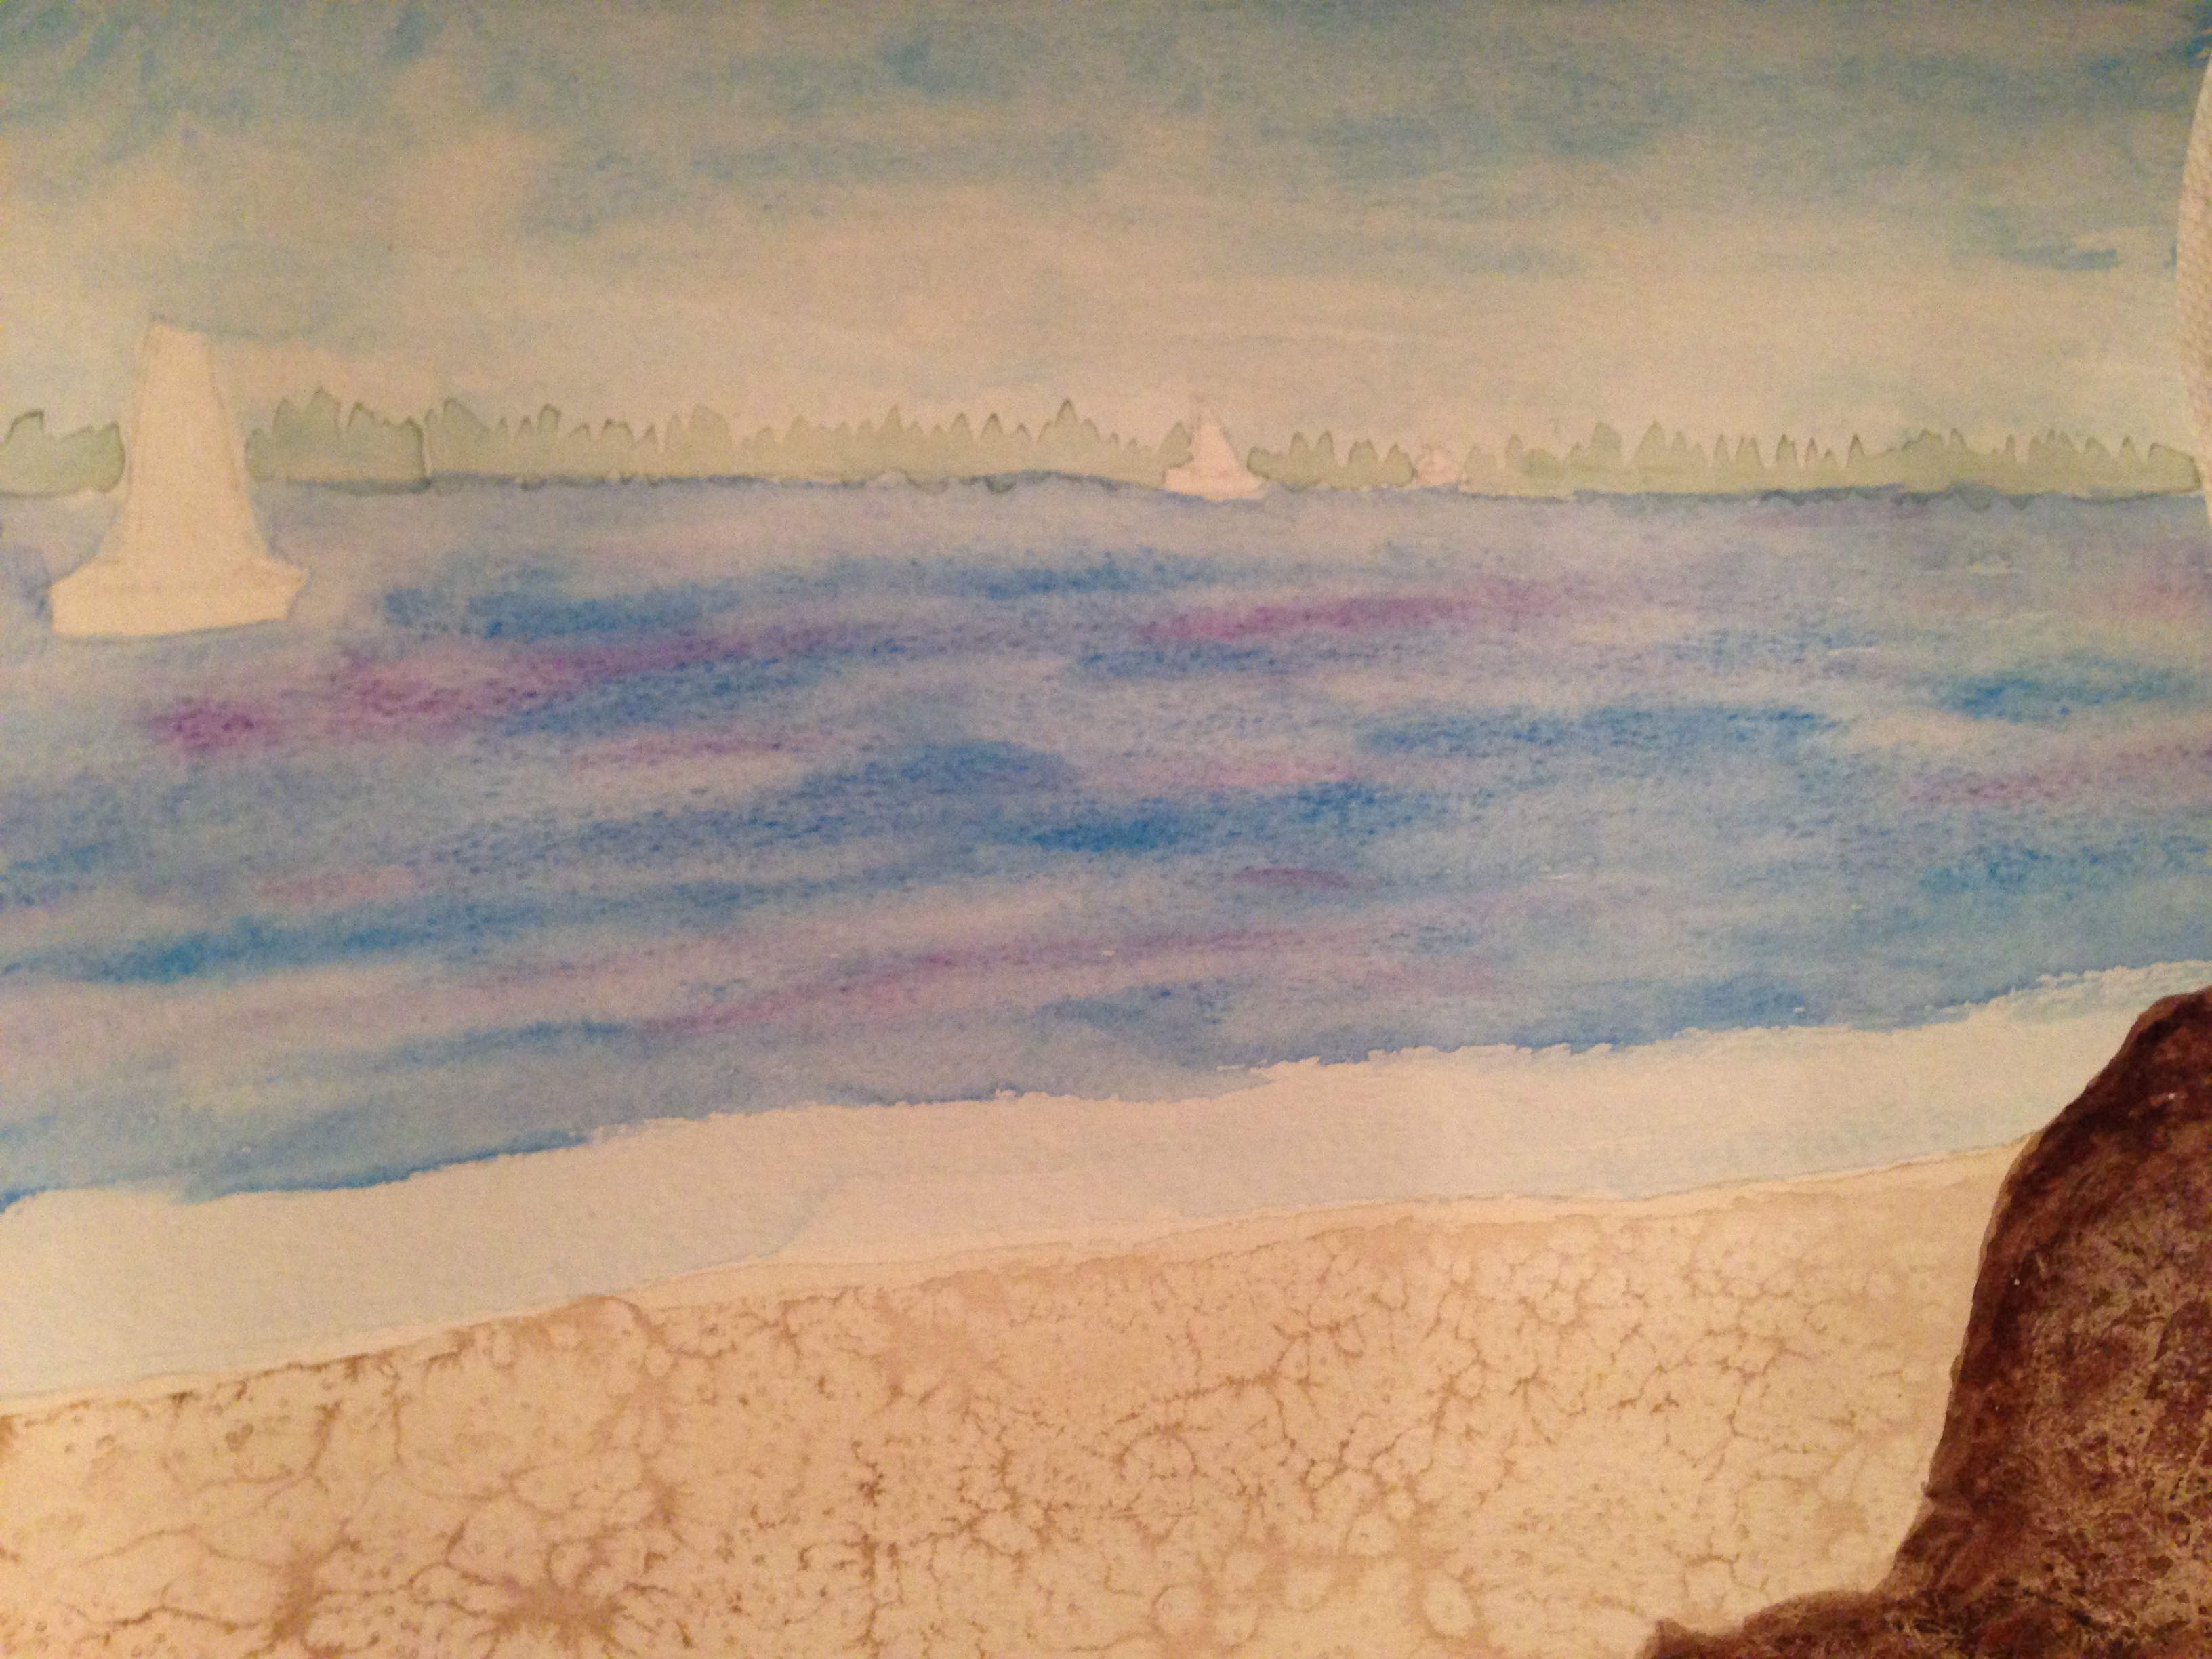
Here is a sample of one of our finished paintings:

Not too bad for a first try at watercolor painting, right?
As the kids have gotten older and are now teens, working very independently on their school work, we don’t get to spend as much time working together as we used to. So the very first benefit we found, was spending focused time together working on our art project. We all truly had a great time with Art Projects. I love that the titles are available in individual, 4 lesson units. No need for a huge outlay of cash to determine if Art Projects will be a good fit for your family. At just $14.99 per title, it’s definitely worth the try and you get much more than your money’s worth on this one! (You can get an even better deal if you purchase the boxed set or join the DVD of the Month Club!)
Bottom Line: We loved it and would highly recommend Art Projects to any family looking to add a quality visual arts program to your homeschool. It would even be great for non-home schooling families!

Where to find: You can purchase your own See The Light Art Projects title at:
![]()
Ages: 10+
Running Time: 98 Minutes, Project Time: about 4 hours
Price: $14.99
There is a product trailer available on the See the Light website.
Other Products: Art Projects (Full Year set or 9 Individual Volumes), Art Class (Full Year set or 9 Individual Volumes), Bible Story art projects, online art classes, materials, books, gifts, etc. There is also a great resource section on the website with blog, tips, free video lessons, download mini-projects, lesson plans, and line art.

 Disclaimer: Several other members of the Mosaic Reviews team received this project in exchange for their honest reviews. No other compensation of any kind has been received.
To read more reviews, click the Mosaic Reviews icon.